Hey everyone,
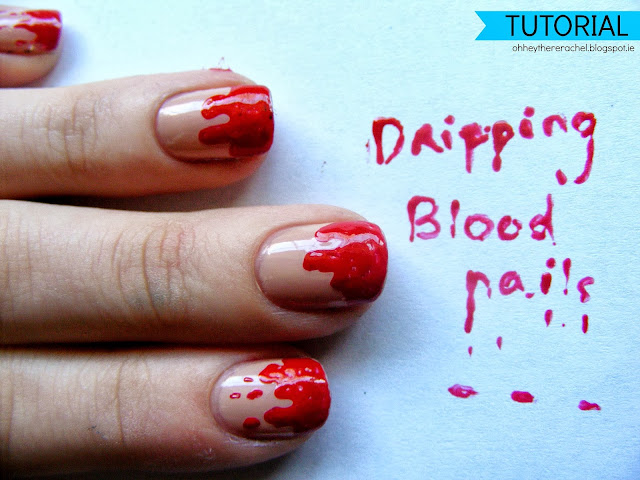
Welcome to the second installment of my Halloween Nails series. You can check out my first tutorial here, [eyeball nails]- pretty creepy stuff! I wanted to create a look that is perhaps easier than the eyeballs, and I came up with this gruesome blood splattered nails. I hope you are truly disgusted by them and try them out this Halloween!
You Will Need;
- nude nail polish
-red nail polish pen
What I Used;
-nude; essence nude glam
-red; hairspray nail art pen
Preparation;
I find it best to apply a basecoat before painting my nails, and a topcoat after. The basecoat stops the polish from staining your nails, and the topcoat will make it last longer and appear glossier. I use a Sally Hansen nail hardener as my basecoat, and an Essence topcoat.
Tutorial;
1. Paint your nails with two coat of your nude polish. I think this looks especially effective if the nude polish is similar to your skin tone, like this one I bought from Essence months ago.
2. Using your red nail art pen, trace the dripping blood design. Do this by going in up and down movements, in different sizes.
3. Fill in the red with the red pen or similar red nail polish.
4. On a few of the nails, I added some red drops for a true splattered effect.
What do you think? Will you be trying this look out next week?
-Rachel x


a little creepy but very cute :)
ReplyDeletepin to win | ahaishopping contest!
nasty-lady.blogspot.com
cool design :)n xx
ReplyDeleteLove this look! I'll definitely be trying it out for halloween!!
ReplyDeleteRachael x
Rachaeleeno | Beauty, Fashion & Thoughts