nailart

Hey everyone,
Ok, so this isn't TECHNICALLY the first nail art tutorial I've done on Oh Hey There Rachel- I did a not-so-great-quality one last year, however I've decided to frequently start making them! Alot of people have been commenting on my nail art posts with things like "wish I could do that!" or "pity I don't have a steady hand". I've tried to break this down as simple as possible. Remember, practice makes perfect! I've been doing nail art for years, so don't worry if it doesn't come out amazing first go. Let me know if you try it out, I'd love to see your pictures.
You Will Need;
- A nail polish of your choice
- Black nail art pen [or dip a cocktail stick in black polish!]
-White nail polish/pen
What I Used;
-Barry M Gelly polish in "greenberry"
- Nail art pens from Hairspray
Preparation;
I find it best to apply a basecoat before painting my nails, and a topcoat after. The basecoat stops the polish from staining your nails, and the topcoat will make it last longer and appear glossier. I use a Sally Hansen nail hardener as my basecoat, and an Essence topcoat.
Tutorial;

1. Paint two coats of your chosen nail colour on to your nails. I love this Barry M one, and the gelly polish range is definitely one of my favorites this year!
2. Using your black nail art pen, draw broken circles on your nails. The easiest way to do this is to think of drawing brackets like ( ) this!
3. Fill in some of the spacing by drawing a few random thin black flicks surrounding the 'brackets'
4. Fill in the 'brackets' using your white nail art pen. And you're done!
What do you think of this tutorial? Will you be trying this look out?
-Rachel x
where to find me >


Leopard Nail Art Tutorial
10.06.2013
Hey everyone,
Ok, so this isn't TECHNICALLY the first nail art tutorial I've done on Oh Hey There Rachel- I did a not-so-great-quality one last year, however I've decided to frequently start making them! Alot of people have been commenting on my nail art posts with things like "wish I could do that!" or "pity I don't have a steady hand". I've tried to break this down as simple as possible. Remember, practice makes perfect! I've been doing nail art for years, so don't worry if it doesn't come out amazing first go. Let me know if you try it out, I'd love to see your pictures.
You Will Need;
- A nail polish of your choice
- Black nail art pen [or dip a cocktail stick in black polish!]
-White nail polish/pen
What I Used;
-Barry M Gelly polish in "greenberry"
- Nail art pens from Hairspray
Preparation;
I find it best to apply a basecoat before painting my nails, and a topcoat after. The basecoat stops the polish from staining your nails, and the topcoat will make it last longer and appear glossier. I use a Sally Hansen nail hardener as my basecoat, and an Essence topcoat.
Tutorial;
1. Paint two coats of your chosen nail colour on to your nails. I love this Barry M one, and the gelly polish range is definitely one of my favorites this year!
2. Using your black nail art pen, draw broken circles on your nails. The easiest way to do this is to think of drawing brackets like ( ) this!
3. Fill in some of the spacing by drawing a few random thin black flicks surrounding the 'brackets'
4. Fill in the 'brackets' using your white nail art pen. And you're done!
What do you think of this tutorial? Will you be trying this look out?
-Rachel x
where to find me >


Black- Bourjois
White- Sally Hansen
Pink- Kiko Cosmetics
Glitter- Essence Multi- Effect topper in 04 circus confetti
-Rachel x
where to find me >
Yin Yang & Glitter Nailart
7.30.2013
Black- Bourjois
White- Sally Hansen
Pink- Kiko Cosmetics
Glitter- Essence Multi- Effect topper in 04 circus confetti
-Rachel x
where to find me >
Hey everyone!
SO I haven't done nail art in AGES and I was having a lazy night, so I decided to look up some ideas to fill time! I recreated this look off fuckyeahnailart.tumbr.com , a great place to look for nail inspo! Hope you like my version.

Silver- Essie
Black- Bourjois & Kiss nail art pen
Mint green- Essence
-Rachel x
where to find me >
Graphic Mint, Black & Silver Nail Art
7.25.2013
Hey everyone!
SO I haven't done nail art in AGES and I was having a lazy night, so I decided to look up some ideas to fill time! I recreated this look off fuckyeahnailart.tumbr.com , a great place to look for nail inspo! Hope you like my version.
Silver- Essie
Black- Bourjois & Kiss nail art pen
Mint green- Essence
-Rachel x
where to find me >
Hey everyone!
I bought this fabulous nail polish whilst in Malaga, Spain. I ADORE IT! It was only €1.75 too, alot cheaper than it is here in Ireland. The colour, the effect, the durability.. I love it all. The only downside? It's a killer to take off!


-Rachel x
where to find me >
Nails- Maybelline Color Show "Polka Dots"
7.22.2013
Hey everyone!
I bought this fabulous nail polish whilst in Malaga, Spain. I ADORE IT! It was only €1.75 too, alot cheaper than it is here in Ireland. The colour, the effect, the durability.. I love it all. The only downside? It's a killer to take off!
-Rachel x
where to find me >
Hey everyone!
I've been meaning to post these nails for quite some time now, but keep forgetting as my nails are constantly changing like the weather [and my feelings, and my choice of favorite lipstick..]. I was out shopping with my Mam for some new nail polish, and we came across a great offer by Bourjois in Boots. Although a drugstore type brand , I've always considered it to be luxurious, as when I was younger I bought a nail polish from them and thought it was fab! It was 2 polishes for €11 AND including a free nail art kit! Of course, we jumped at the bargain, and I couldn't wait to try it out. We bought the shades 02 Prepp'hibiscus [coral] and 03 Amande défilé [mint]. I'm quite critical when it comes to nail art kits, and I've always been dubious of nail 'stickers'. The kit contains stickers, stencils and a metallic striping tape.
I found the polishes themselves to be beautiful. They lasted right up through exams-over a week! Minimal chipping and a high gloss finish. Definitely worth the money. The stencils were easy to use and ensured a straight edge, but once used, you can;t use them again unfortunately [note: you get alot in the pack so that's ok!]. The stickers [surprisingly] stayed on for approximately 5 days. This is a considerably long time for stickers to last! The metallic striping tape looks so professional and glamorous when applied, but it is a bit fiddly and tricky to use. It peeled off within a day or two, so that was bit disappointing.
Below is how I styled the polished and the kit;
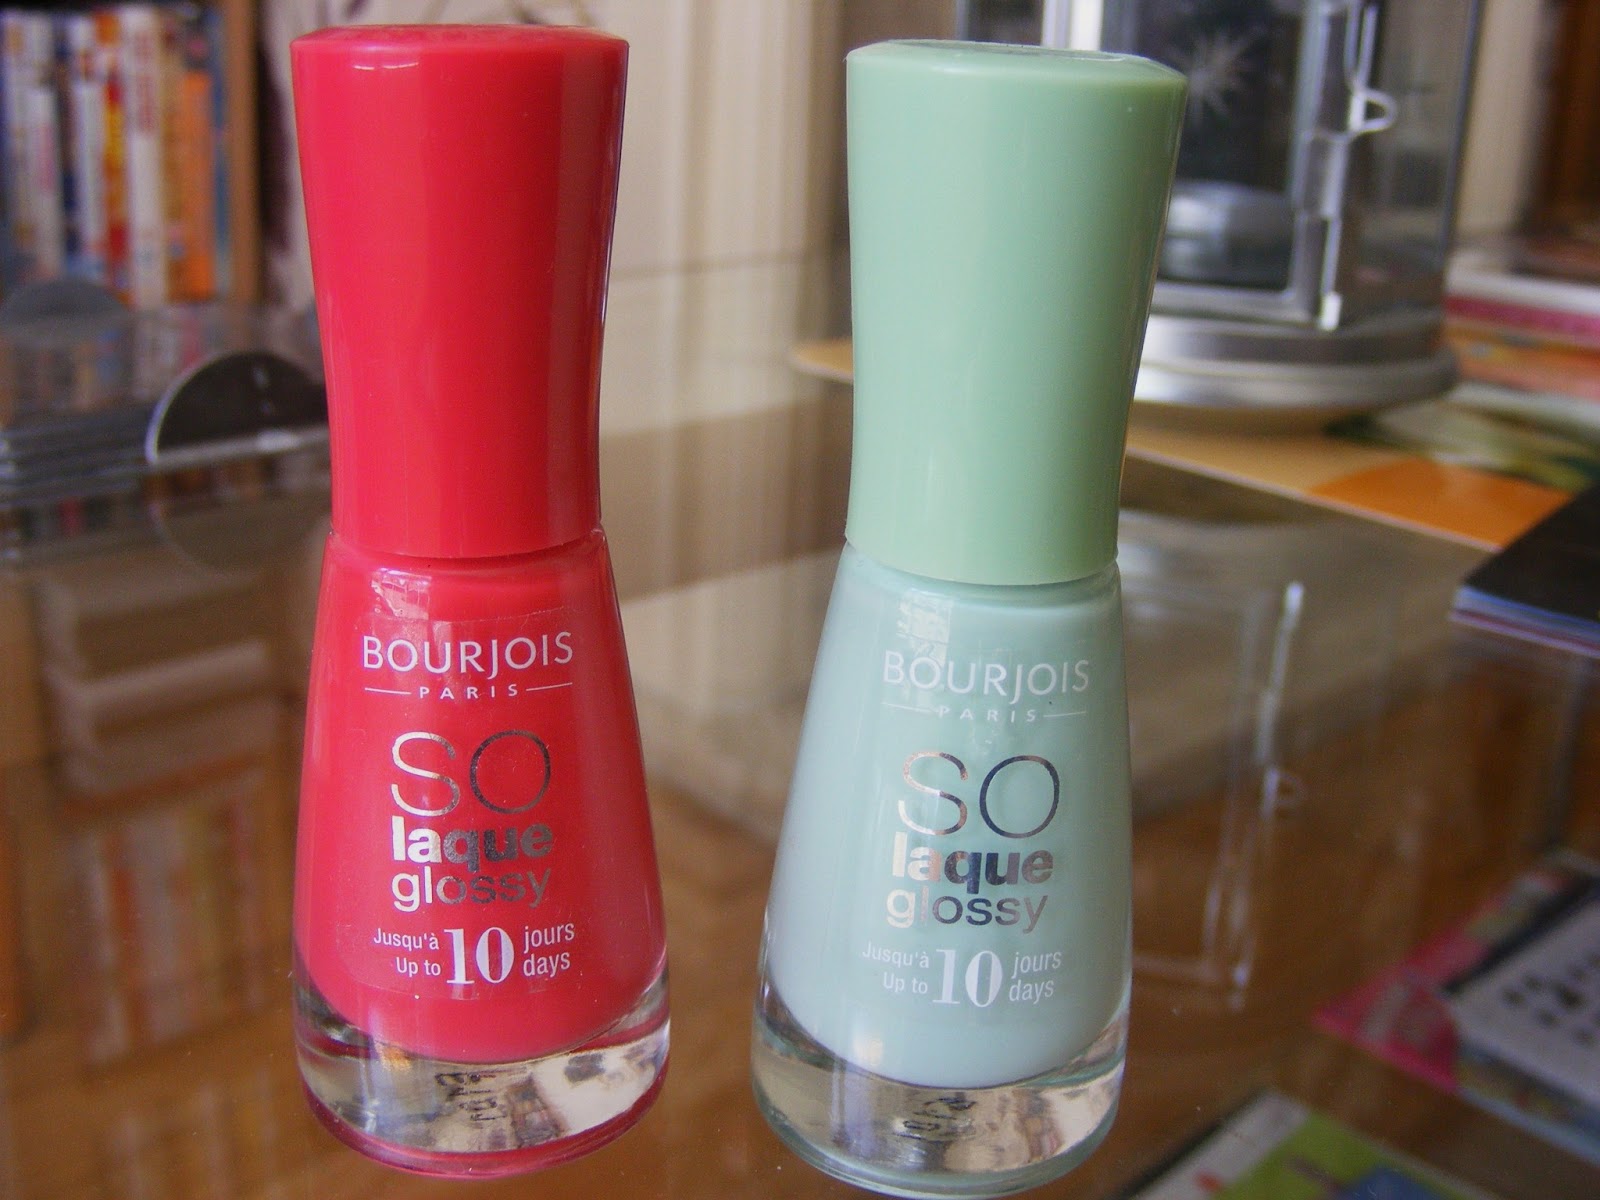
left-02 Prepp'hibiscus // right-03 Amande défilé
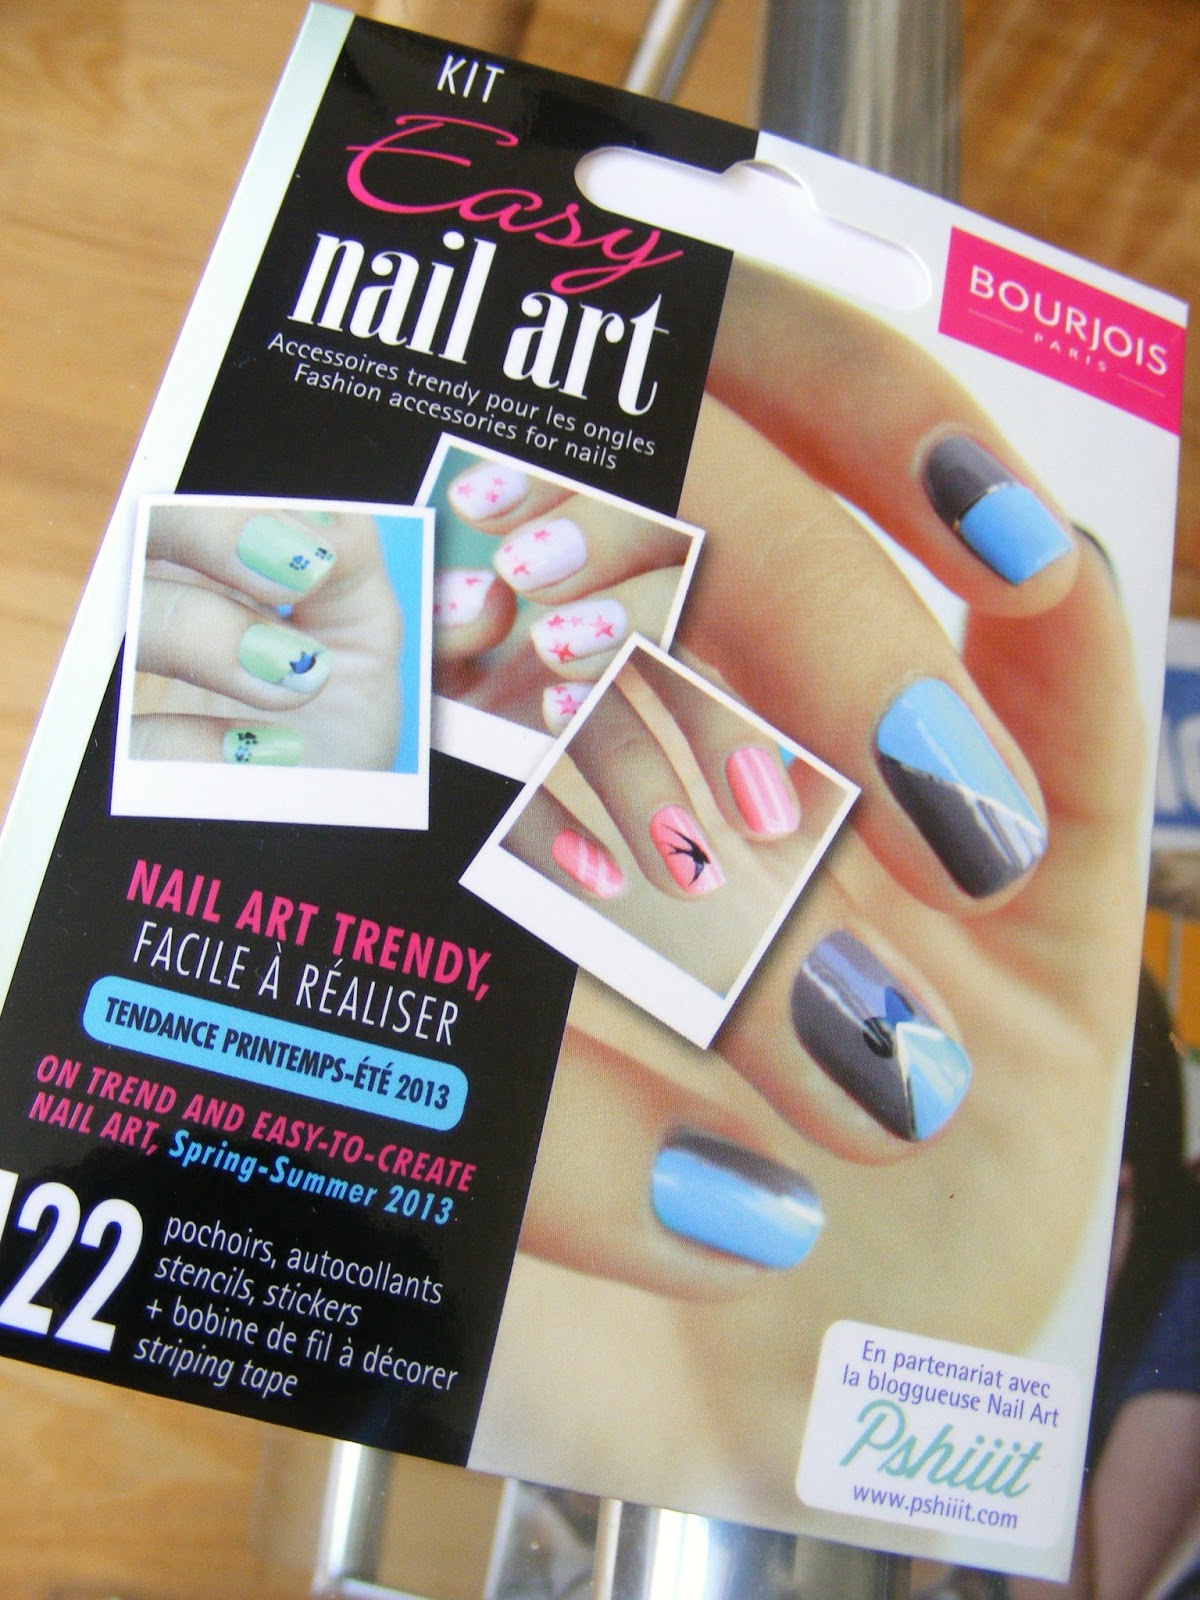
'easy nail art kit'

stencils, stickers and the striping tape

close up of the striping tape


- Rachel x
Nails- Bourjois Nail Art Kit || Review ||
6.25.2013
Hey everyone!
I've been meaning to post these nails for quite some time now, but keep forgetting as my nails are constantly changing like the weather [and my feelings, and my choice of favorite lipstick..]. I was out shopping with my Mam for some new nail polish, and we came across a great offer by Bourjois in Boots. Although a drugstore type brand , I've always considered it to be luxurious, as when I was younger I bought a nail polish from them and thought it was fab! It was 2 polishes for €11 AND including a free nail art kit! Of course, we jumped at the bargain, and I couldn't wait to try it out. We bought the shades 02 Prepp'hibiscus [coral] and 03 Amande défilé [mint]. I'm quite critical when it comes to nail art kits, and I've always been dubious of nail 'stickers'. The kit contains stickers, stencils and a metallic striping tape.
I found the polishes themselves to be beautiful. They lasted right up through exams-over a week! Minimal chipping and a high gloss finish. Definitely worth the money. The stencils were easy to use and ensured a straight edge, but once used, you can;t use them again unfortunately [note: you get alot in the pack so that's ok!]. The stickers [surprisingly] stayed on for approximately 5 days. This is a considerably long time for stickers to last! The metallic striping tape looks so professional and glamorous when applied, but it is a bit fiddly and tricky to use. It peeled off within a day or two, so that was bit disappointing.
Below is how I styled the polished and the kit;
left-02 Prepp'hibiscus // right-03 Amande défilé
'easy nail art kit'
stencils, stickers and the striping tape
close up of the striping tape
- Rachel x
Hey everyone!
Again, just a few quick posts as exams start on Wednesday and I've been so busy! I decided to brighten up my mood a bit and get into the summer hype by taking on the tropical trend on my nails. Enjoy!

items used; nail star nail art pens, dotting tool [ebay], nyc pink & yellow, essence colour & go blue & candy pink- ALSO not featured in the photo, the orange is essie orange its obvious, read about here

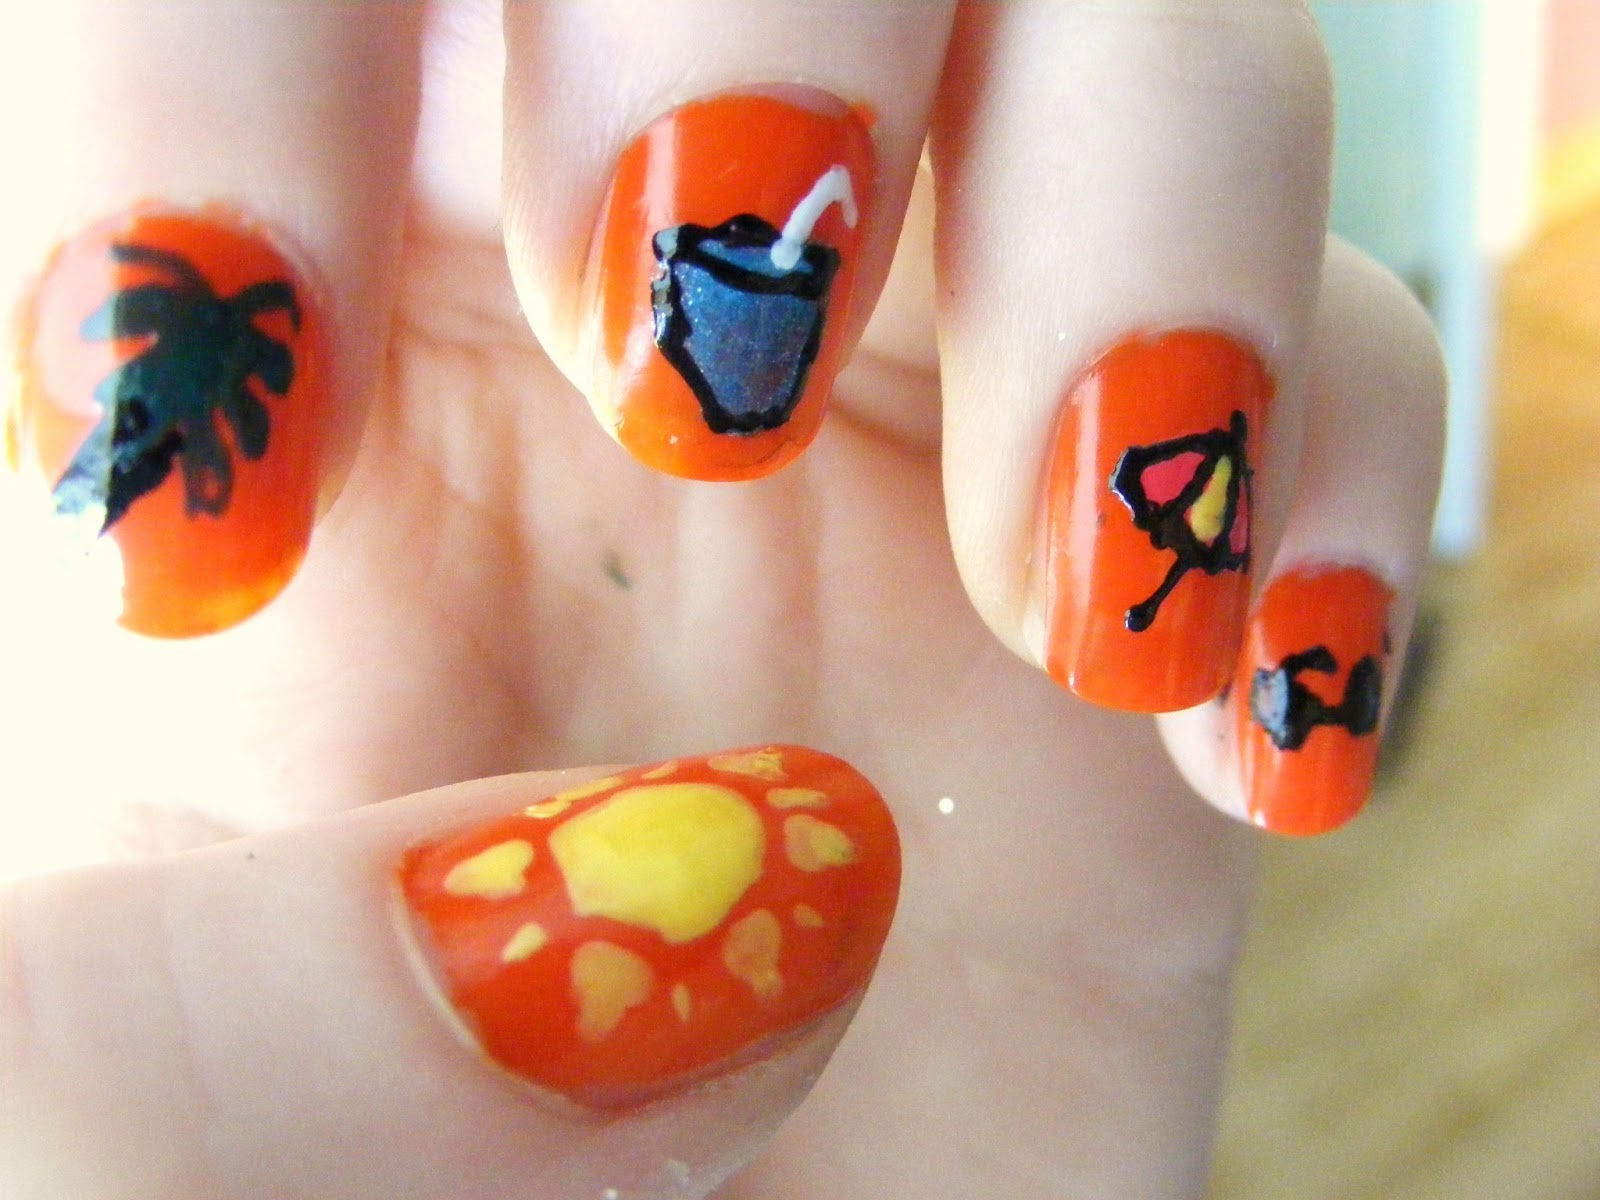
clockwise starting with thumb; sun, palm tree, cocktail, parasol/umbrella [whatever you want to call it!], sunglasses
Tropical Nail Art ft. palm trees & cocktails!
5.31.2013
Hey everyone!
Again, just a few quick posts as exams start on Wednesday and I've been so busy! I decided to brighten up my mood a bit and get into the summer hype by taking on the tropical trend on my nails. Enjoy!
items used; nail star nail art pens, dotting tool [ebay], nyc pink & yellow, essence colour & go blue & candy pink- ALSO not featured in the photo, the orange is essie orange its obvious, read about here
clockwise starting with thumb; sun, palm tree, cocktail, parasol/umbrella [whatever you want to call it!], sunglasses
Subscribe to:
Posts (Atom)


